
Guide
Why screen printing has setup costs and a minimum order
Screen printing is the most economical way to print a large run and a poor way to print a handful. The reason is setup: work that has to be done before the first garment is printed, and that is the same however many you order.
- One screen per colour
- 25-piece minimum
- Up to 6 colours
The process
What happens before the first print
Screen printing pushes ink through a mesh stencil onto the garment, one colour at a time. That stencil is made for your artwork, for this job, and getting a press ready to print takes real work.
Step 1
The artwork is separated
Your design is split into one layer for each ink colour. A three-colour logo becomes three separate pieces of artwork, each printed in solid black onto clear film.
Step 2
A screen is made for every colour
A fine mesh is coated with light-sensitive emulsion and exposed through the film. The emulsion hardens everywhere except behind the artwork, which washes out to leave a stencil.
Step 3
The screens are lined up
Each screen is mounted on the press and adjusted until every colour lands exactly where it should. On a multi-colour design this is the slowest part of the job.
Step 4
Inks are mixed and tested
Colours are mixed or matched and test prints are run to check alignment and coverage before the first real garment goes under the screen.
Step 5
Everything is cleaned down
After the run the ink is cleared and the stencils are removed so the frames can be used again.
The setup fee
Why setup is charged separately
All of that work happens once per job, and none of it gets smaller when the order does. Making and aligning the screens for 25 shirts takes exactly as long as for a thousand. Once the press is running, though, each additional garment takes only moments.
That is why setup is shown as its own line instead of being folded into the price of each garment. You can see which part of the job is fixed and which part grows with your quantity, and why a larger run costs so much less per piece.
Cost of each garment
Small run
Medium run
Large run
Its share of the setup Printing it
Try it
How many screens does your design need?
Setup is counted per screen: one for every colour, in every print position, plus one more for the white underbase on a dark garment. Change the options to see how the count moves.
Screens to set up
2
2 colours.
25
piece minimum
Why there is a minimum
Below a certain size the setup outweighs everything else, and the cost per garment stops making sense for anyone. The minimum applies per job, meaning the same garment with the same artwork. Mixed sizes count together; two different designs are two jobs.
For smaller orders, DTF printing and embroidery have no screens to make and are available from a single garment.
What you control
What makes a job cost more or less
More pieces, less per piece
Quantity
The setup is spread over more garments and the printing itself is quick, so the cost per piece falls as the run grows.
More colours, more cost
Number of colours
Every colour is another screen to make and another pass on the press.
Dark adds a screen
Garment colour
Ink looks dull straight onto dark fabric, so a layer of white is printed first. That underbase is one more screen.
Each position is a setup
Print positions
A front and a back are two separate setups. Each position needs its own set of screens.
Heavier costs a little more
Garment type
Hoodies, fleece and polyester are harder to print on than a flat cotton tee and cost a little more.
No effect at standard sizes
Print size
The size of the print does not change the price up to 40 × 50 cm. Anything larger is quoted.
Choosing a method
Screen printing or DTF?
DTF is a printed transfer that is heat-pressed onto the garment, so there are no screens to make. Screen printing costs more to start and less for every garment after that. Which works out better depends on your quantity, your colours and your print size together.
Screen printing
- Setup
- A screen for every colour
- Minimum
- 25 pieces
- As quantity grows
- Cost per piece drops a lot
- Print size
- No effect at standard sizes
- Finish
- Soft, light plastisol ink
Best for
- Larger runs
- One to three solid colours
- Big prints
DTF printing
- Setup
- No screens to make
- Minimum
- From one garment
- As quantity grows
- Cost per piece stays much the same
- Print size
- Bigger prints cost more
- Finish
- A printed transfer, heat-pressed on
Best for
- Small runs
- Photos, gradients, many colours
- Names and numbers
Not sure? Set the job up both ways in the customiser. It prices each method for your exact quantity, so you can compare them directly.
On the garment
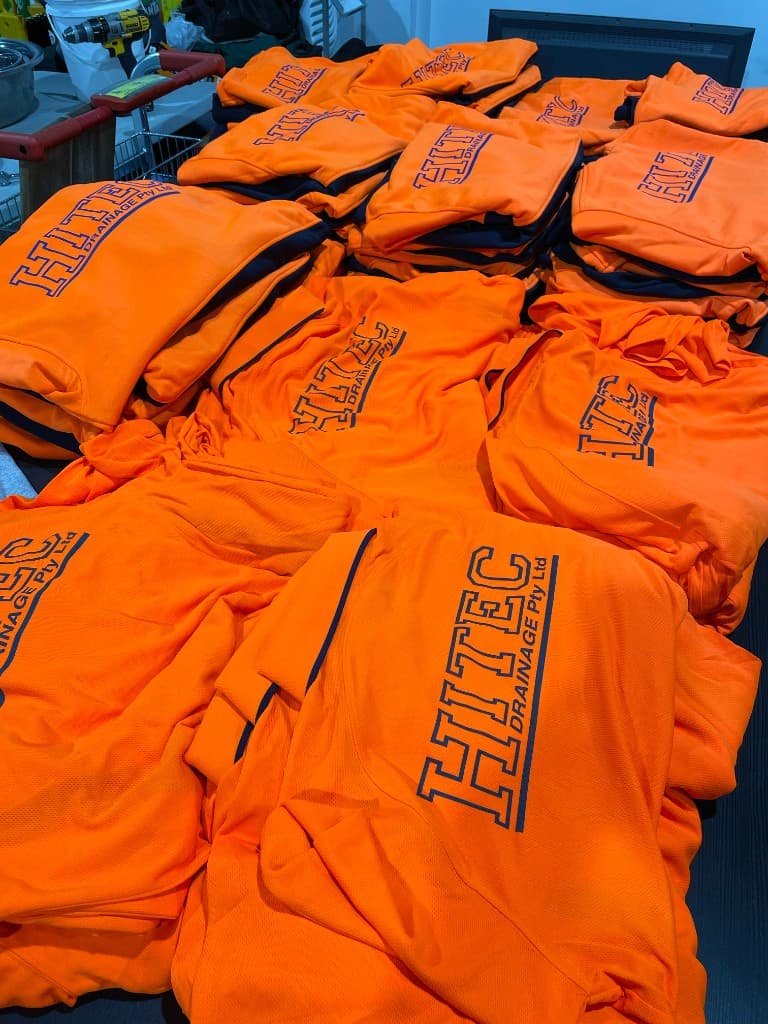
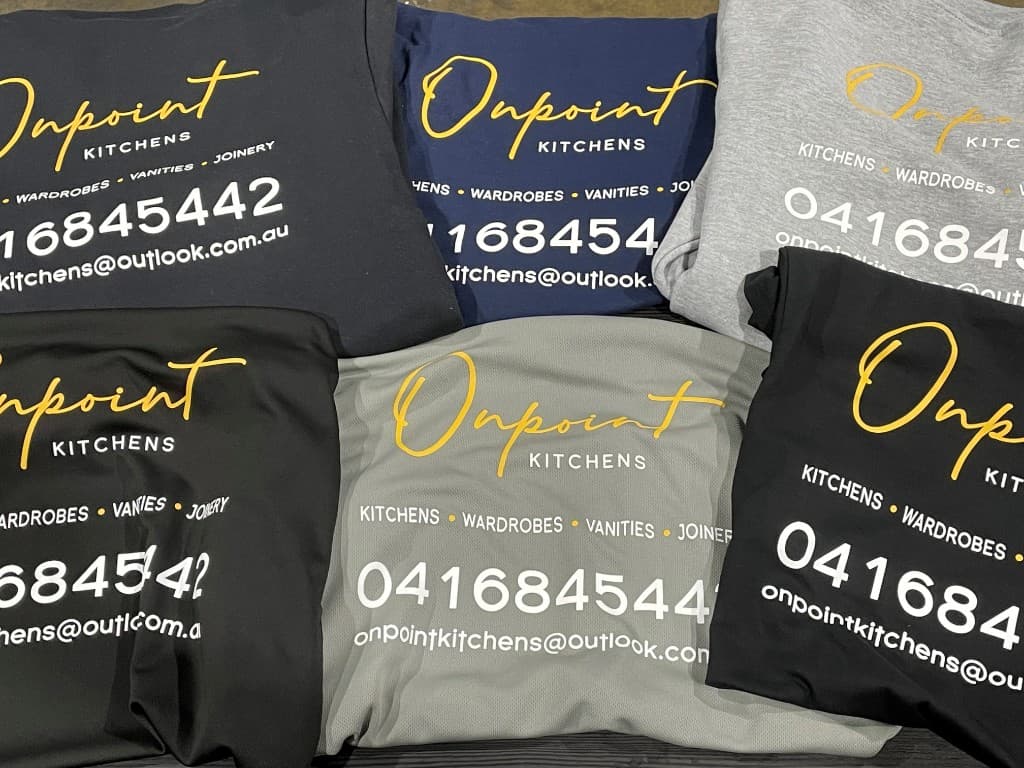
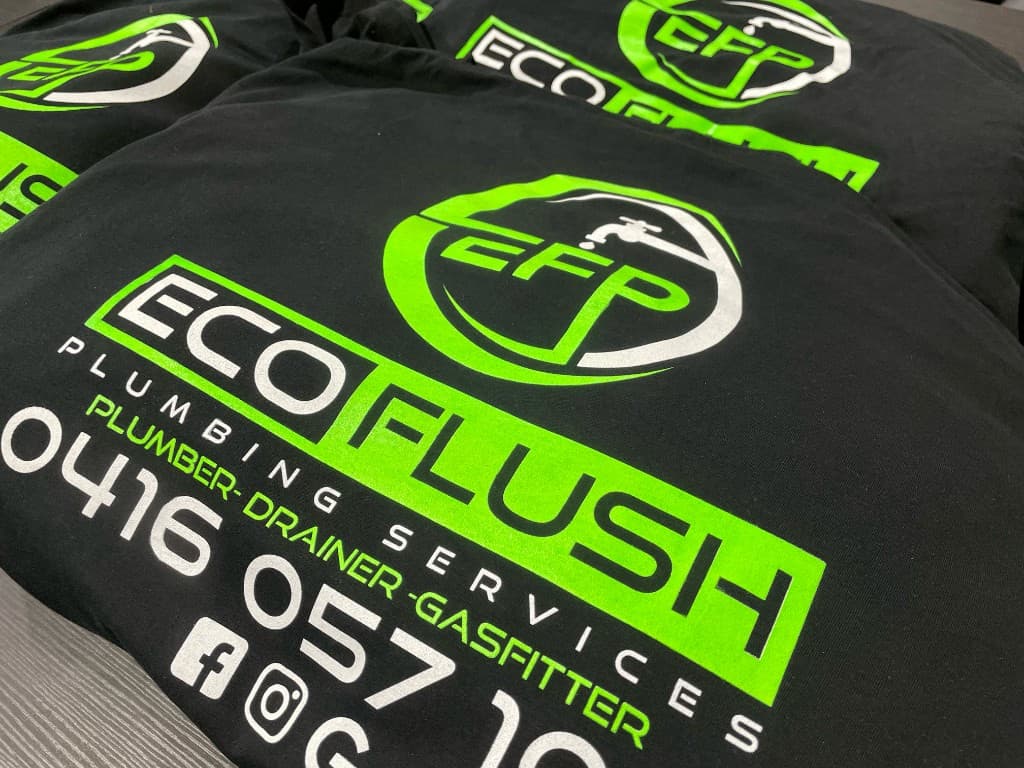
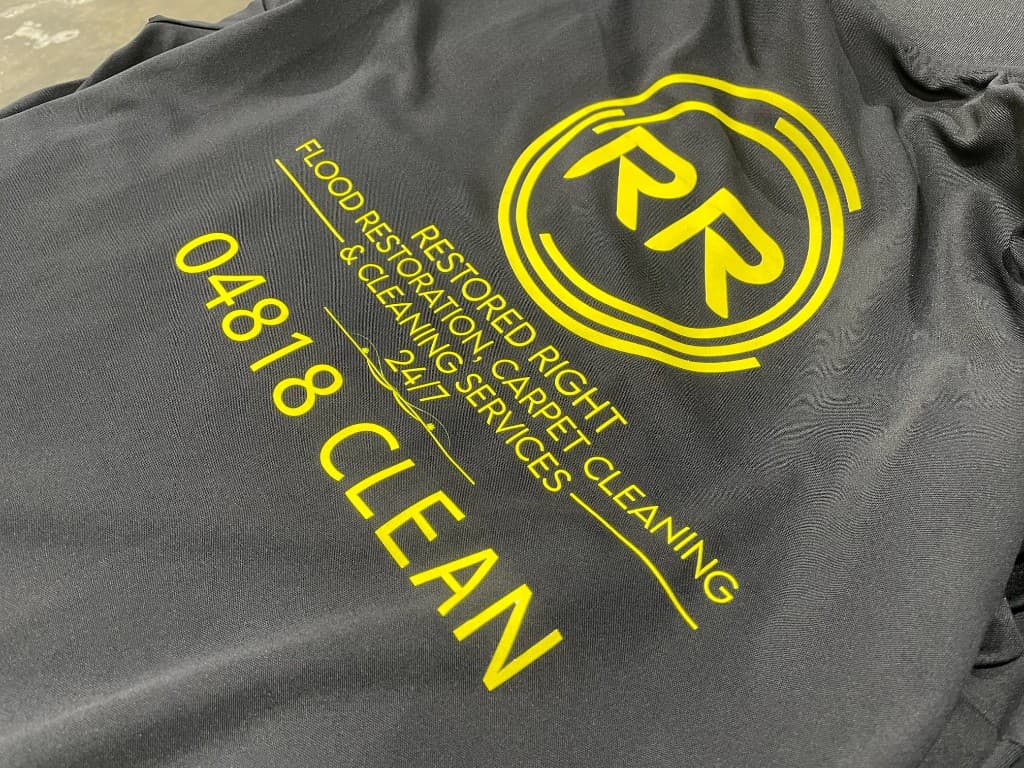
What a screen printed run looks like
Spend less
How to keep the cost down
1
Use fewer colours
Each colour you remove is one less screen. Many logos lose nothing by going from three colours to two.
2
Print on a light garment
No white underbase is needed, so there is one less screen to set up.
3
Keep it to one position
A second position repeats the setup. Decide whether the back print is worth it before you add it.
4
Order once, not twice
Two small runs mean two setups. One larger run means one, and a lower cost per piece as well.
5
Re-order within 6 months
Repeating the same design within 6 months carries a reduced setup fee, because the artwork has already been prepared for print.
Timing
Why it takes a little longer
The same setup that adds cost also adds time, counted from artwork approval. If your date is tighter than this, DTF is the faster method.
Standard
7–10 business days
Priority
5–7 business days
Next day
Not available for screen printing
Quick answers
Screen printing setup FAQ
Why does screen printing have a setup fee?
Before anything is printed, a separate screen has to be made for each colour in your design, mounted on the press and lined up. That work is the same whether you order a small run or a very large one, so it is charged once per job instead of being built into the price of every garment.
How is the setup fee worked out?
It is charged per screen. You need one screen for each colour in each print position, plus one for the white underbase if the garment is dark. The customiser shows the setup for your design before you order.
What is the minimum order for screen printing?
25 pieces per job, where a job is the same garment with the same artwork. Sizes can be mixed within that. For fewer than 25, DTF printing and embroidery are available from a single garment.
Do I pay setup again when I re-order?
Repeating the same design within 6 months carries a reduced setup fee. After that the job is set up again from scratch.
Why does printing on a black shirt cost more?
Ink colours look dull printed straight onto dark fabric, so a layer of white is printed first. That underbase is an extra screen, and the job is priced as one more colour.
Where can I see the price for my job?
In the customiser on any product page. Choose your garment, add your artwork, pick screen printing and enter your quantity, and it shows the full price before you order.
See the price for your job
Pick a garment, add your artwork and choose screen printing in the customiser. It shows the setup and the full price for your quantity and colours before you order.